
How to Clean and Store Golf Clubs Without Damaging the Finish
A careful routine for cleaning clubheads, drying a wet bag, checking damage, and storing clubs without treating every finish the same.
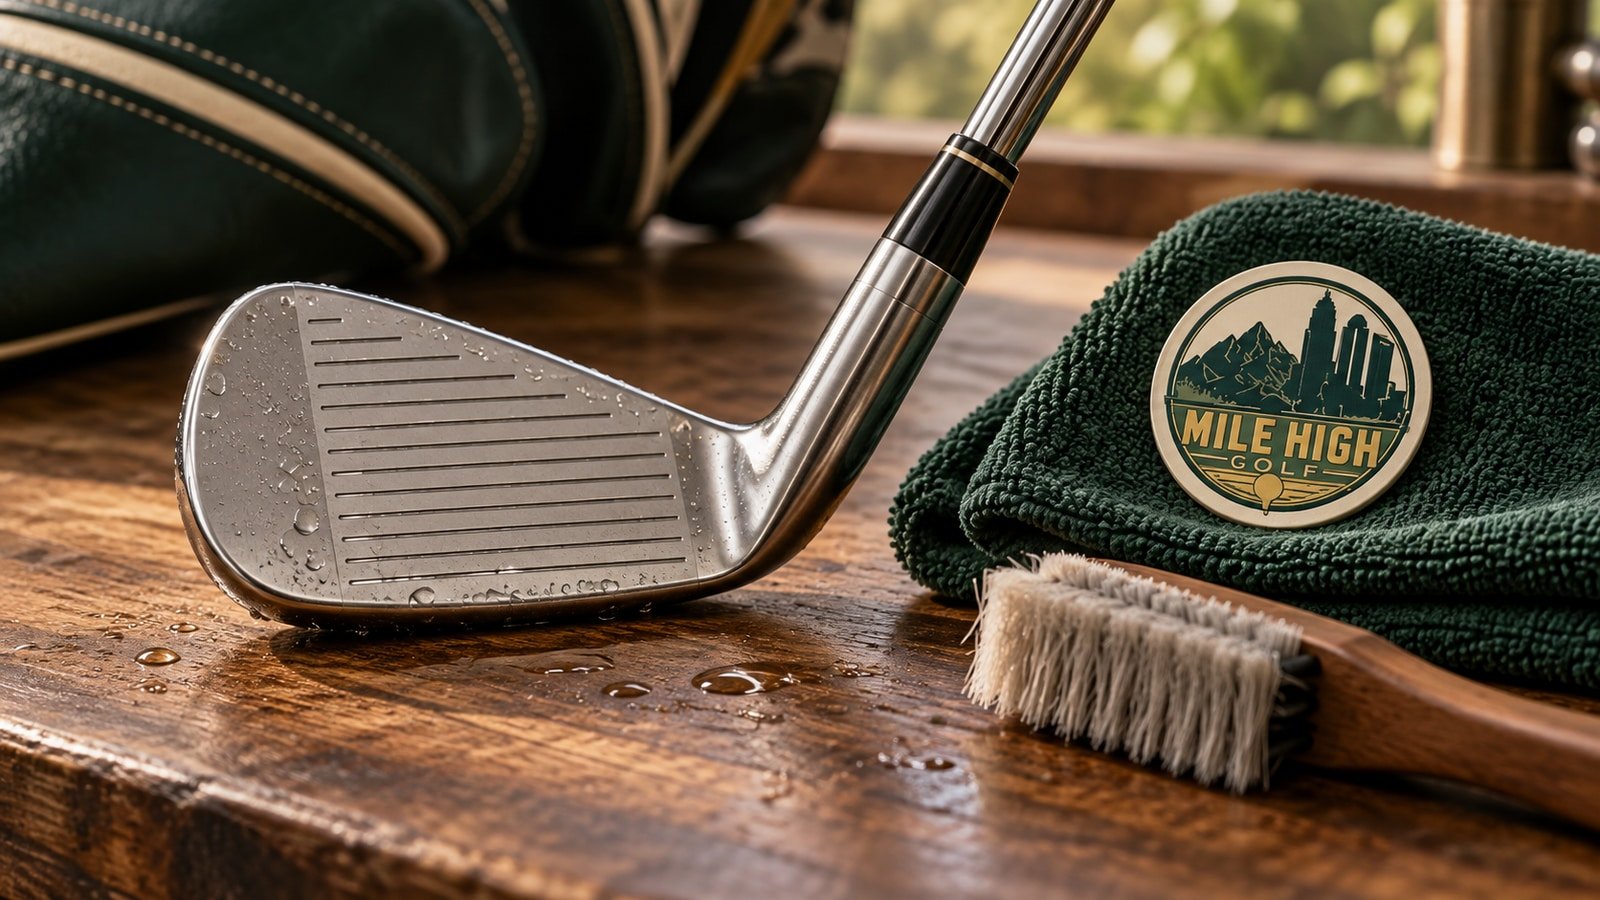
A clean club is easier to inspect, easier to handle, and ready for the next round. The mistake is assuming every head, shaft, grip, and finish can tolerate the same treatment. A modern golf bag can contain painted crowns, bonded inserts, plated steel, exposed carbon steel, graphite shafts, and several grip materials.
Start with the maker's instructions for the exact model. The routine below is a conservative editorial checklist, not a claim that Mile High Golf has tested every product or a substitute for a manufacturer's repair assessment.
Read the finish before reaching for a cleaner
In its Club Care 101 guidance, Titleist's support specialists recommend a damp cloth and soft plastic brush for multi-material irons and metalwood soles, rather than soaking or running water over them. Product-development advice in the same staff post warns against sharp tools around sole channels and bonded features.
That staff guidance dates to 2017; it is useful background, but does not override a newer model's care sheet. The practical starting point is gentle contact and controlled moisture. Do not assume that a method suitable for an unpainted steel face also suits a painted crown, decorative badge, or putter insert.
Before cleaning, identify the head model and finish. If you cannot identify a coating or material, take a photograph and ask the manufacturer before applying a chemical, polish, or abrasive.
A simple bench setup
Keep a clean soft cloth, a dry towel, and a soft nylon brush together. Use good light so you can see sand or grit before rubbing the surface. Check that the brush itself is clean; a cloth carrying debris is a poor choice for delicate paint.
Work on one club at a time over a stable surface. This makes it easier to notice a new mark and avoids piling heads together. Leave metal picks, rotary tools, aggressive pads, and general-purpose solvents out of routine cleaning unless the exact product instructions explicitly call for them.
Work from dirt removal to drying
- Inspect the face, sole, crown, shaft, and hosel before starting. Note any crack, moving component, or unfamiliar mark.
- Lift loose debris gently. Use the damp cloth on ordinary dirt and the soft brush where the maker permits it.
- Use only a cleaner compatible with that club's finish. Apply it as directed, rather than inventing a stronger mixture.
- Wipe away remaining moisture with the dry towel. Check recesses without digging into seals or bonded joints.
- Let the club finish drying before putting it back into a dry bag or headcover.
This sequence is an organizational recommendation, not a measured restoration process. It should leave a club clean enough to examine, not polished beyond its intended finish.
Grips need their own instructions
Golf Pride's grip-care guidance recommends regular cleaning, a soft brush with soap and water between rounds, and cool, dry storage away from sunlight. That advice concerns its grips; do not automatically apply it to leather or another maker's specialty materials.
Cleaning also provides a useful inspection opportunity. If a grip remains slick, feels hard, has visible splits, or moves on the shaft, record the problem rather than repeatedly scrubbing it. Our grip sizing and regripping guide covers the next decision in more detail.
Dry the whole bag after a wet round
The head can look dry while the towel, headcover, and bag lining are still damp. For a golfer returning from a wet Lake Norman round, make drying a separate step before storage.
TaylorMade's published care instructions advise removing clubs and headcovers after rain, drying in a ventilated shaded place, and avoiding hot, humid storage and leaving clubs in a car trunk. These are manufacturer care recommendations, not a warranty promise for another brand.
A practical home routine is to empty wet towels and gloves, separate damp covers, wipe the clubs, and check the bag before repacking. Choose a stable storage location where the shafts will not be trapped beneath other objects. Do not use a heater to hurry the job.
Rust and damage are different questions
Some unplated wedge finishes intentionally develop surface rust. Titleist's Vokey staff explain this for specific raw and Jet Black models in the care post above and caution against abrasive removal. That does not mean every rusty club is healthy or every brown mark should be ignored. Confirm what finish you own before trying to restore its color.
Stop using a club with a loose head, visible shaft crack, or sharp exposed fiber until it has been assessed. Photograph the area and keep the model information. A shifted decorative ring also deserves inspection if anything moves; our ferrule guide explains the distinction between appearance and assembly concerns.
Make the routine repeatable
Keep a short note for any club needing attention: model, location of the issue, when it appeared, and whether it changed. A photograph taken in similar light is more useful than trying to remember how a mark looked last month.
Routine cleaning does not certify groove condition, repair a bond, or establish equipment-rule conformity. For surface modification questions, read the laser engraving and wedge resurfacing guide.
Mile High Golf is coming soon in Denver, NC. For updates, join the founding list. This article is education, not an invitation to submit a service booking.
Sources reviewed September 14, 2026. Manufacturer statements are identified above; the checklist and recordkeeping suggestions are editorial judgment.