
Is Your Golf Club Damaged? What to Check Before the Next Swing
Separate ordinary wear from a reason to stop playing, document what changed, and approach a club repair without hiding the evidence.
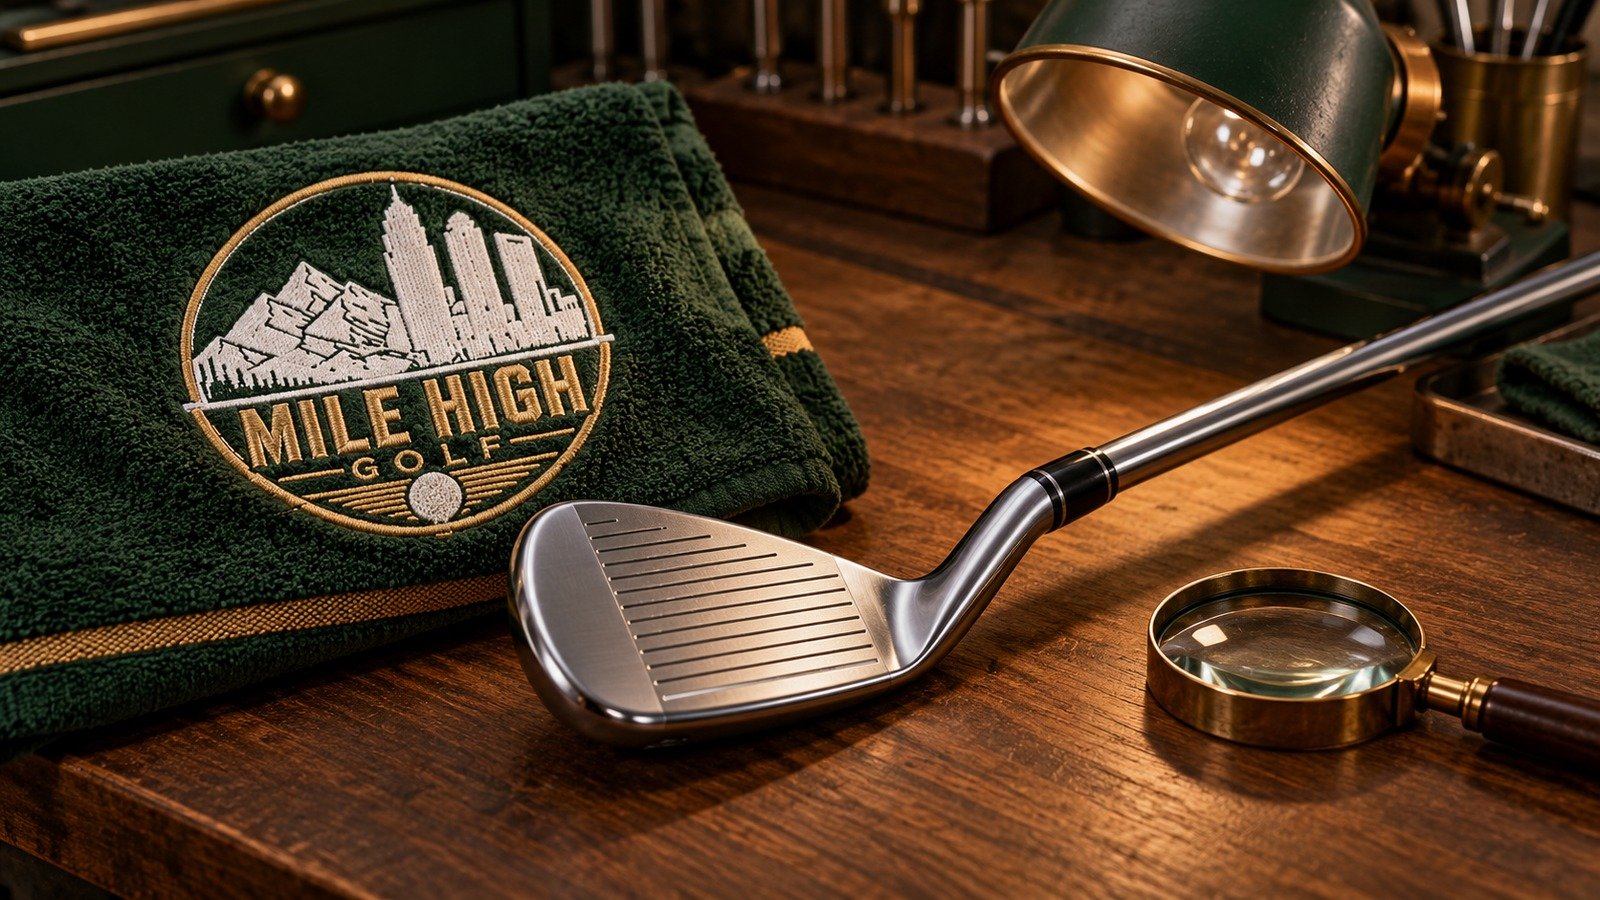
A new rattle in a driver can turn a normal range session into a guessing game. A gap above an iron hosel can look alarming even when the decorative ferrule is the only part that moved. A small mark on a graphite shaft can be harder to interpret than either.
The useful first question is not how quickly you can glue something back together. It is what changed, where it changed, and whether the club should be used before someone qualified inspects it. This guide offers a conservative visual screening routine and a better repair handoff. It does not turn a photograph or a few practice swings into proof of structural safety.
Start with the symptom, not a diagnosis
Write down what you actually noticed: a new sound, a visible line, movement between components, a changed head position, or a different feel after a specific incident. “The head rattles when I lift the bag” gives a technician more to work with than “the epoxy failed.” A sound does not identify its own cause.
Our editorial recommendation is to stop using a club when there is suspected structural damage, unexpected movement at a joint, a visibly bent shaft, exposed graphite fibers, or a loose component. Do not take another full swing to see whether the symptom becomes clearer. That is a risk decision, separate from whether the equipment rules permit a damaged club to remain in play.
If the only issue is an ordinary surface mark, record it and inspect the surrounding area without forcing, bending, or twisting anything. When you cannot distinguish a finish mark from a crack, treat the uncertainty as a reason for professional inspection.
A calm inspection, from grip to head
Use good light and a stable surface. Remove only loose dirt using the maker's care instructions. Titleist's care and repair guidance recommends mild soap and water for its clubs, drying with a soft cloth, and dry clubs and headcovers before storage. That is manufacturer guidance, not permission to soak every component or use an abrasive cleaner.
Look over the grip for splits, obvious movement, and a changing relationship between its alignment marks and the clubface. Then visually follow the shaft down to the hosel. Note dents, bends, unusual lines, coating damage, and areas that rubbed against a bag divider. Do not run bare fingers over suspected splinters or scrape away a finish to “see underneath.”
Inspect the transition into the head, the visible ferrule, and any adjustable connection. Finally, examine the face, sole, crown, and visible weights or inserts. The aim is to describe the symptom while preserving the club's condition for evaluation. Avoid improvised stress tests.
| Observation | What it does and does not establish | Sensible next step |
|---|---|---|
| Small gap above the hosel | A ferrule may have moved; the gap alone does not establish the condition of the head-to-shaft bond | Photograph the gap and have the connection assessed |
| New rattle inside a head | Confirms a new sound, not its cause | Stop testing it with shots; record when the sound occurs |
| Visible shaft bend or exposed fibers | A reason to suspect structural damage | Remove the club from use and arrange inspection |
| New line across a face or crown | Could require closer inspection; an online photo cannot clear it for play | Preserve the condition and contact the maker or a qualified repairer |
| Grip visibly moving on the shaft | The player's connection to the club is compromised | Do not play until the grip and underlying build are assessed |
These are triage recommendations, not diagnostic thresholds. Our ferrule guide explains why a cosmetic collar and the structural joint are different parts of the assembly.
Preserve evidence before attempting a fix
Take an overall photo and close-ups from more than one angle. Include the club model, shaft label, grip model, serial number if present, and a short account of when the symptom appeared. Keep the purchase receipt and any earlier build sheet. Save detached parts without trying to force them back into position.
Do not sand, repaint, inject adhesive, heat the hosel, or tighten an unfamiliar fastener to make the club presentable. Such changes can obscure the original problem or affect a manufacturer's repair options. Titleist notes that some third-party repairs can make a club unserviceable by its department. PING's repair information likewise explains that previous alterations can affect what it can do. Ask about the correct route before approving work, particularly when a warranty assessment may be relevant.
A repair should restore a recorded specification
A replacement shaft is more than a matching flex letter. Ask the repairer to document the proposed shaft model, playing length, grip and tape build, and any relevant adapter settings. If the original specification is unknown, say so. “Return it to stock” is ambiguous when the club has already been modified.
The work order should separate confirmed findings from proposed work. Useful questions include: Which component failed? Can the head and remaining parts be reused? What inspection is possible without disassembly? What will change in the finished club? How will completion be checked? Who provides the final release-to-play guidance?
Our swingweight and total-weight guide explains why a club can feel different after a seemingly simple component change. Our shaft guide provides the vocabulary for comparing the whole build.
The rules question is separate from the repair question
Under the current R&A Rule 4.1, a conforming club damaged during a round is generally treated as conforming for the remainder of that round. Repair or replacement is generally allowed except in cases of abuse, with restrictions on how a replacement may be obtained. A replacement requires taking the damaged club out of play. Deliberately changing playing characteristics is a different situation.
The Committee may also adopt a relevant Local Rule. Ask an official about your event rather than relying on an old article or a remembered exception. Permission under the rules is not an engineering judgment that a cracked or loose club is safe to swing. A player can choose to stop using questionable equipment even when continued use would be permitted.
What to check when the club returns
Compare the completed work with the agreed specification. Confirm the model and grip, look over the assembly, and ask what was inspected, replaced, or left unchanged. Follow the repairer's instructions for when the club can be used; adhesive and installation processes do not all share one universal waiting period.
Record the repair date and keep the final measurements. Resume with a controlled evaluation after the club has been cleared for use, and report any recurring symptom. The goal is not merely to make the club look whole again. It is to understand what happened and have a clear account of the finished equipment.
For Denver and Lake Norman golfers, keeping that small equipment history can make the next maintenance decision much easier. Mile High Golf's education library is available now; join the founding list for updates. This article does not open repair intake or promise current service availability.
Sources reviewed October 5, 2026. Manufacturer policies and equipment rules are linked where used; inspection and handoff suggestions are editorial judgment, not a diagnosis. Hero image: AI-generated editorial illustration, not an actual venue or repair photograph.